Thank you for choosing Antelope Audio!
Step 1: Create an Antelope Audio User Account
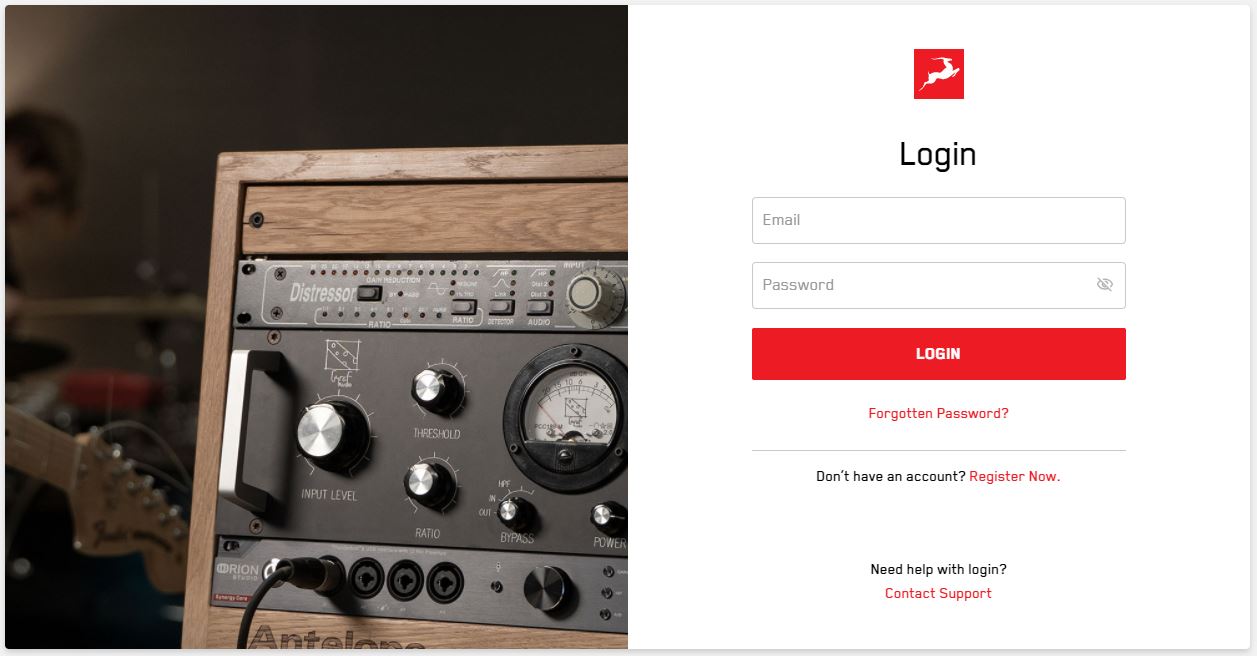
To activate your Atlas and fully utilize all of its features, you will need to create an Antelope account.
To create an account, please click here.
Existing users can log in here.
Step 2: Download the Antelope Launcher
Download the Antelope Launcher for your operating system. Install the application following the on-screen instructions and log in using your Antelope account.
* If you already have the Antelope Launcher installed – make sure you are running the latest available Manager Server version in the System tab.
Read about minimum system requirements here
Step 3: Power up
• Plug the power supply cable into the Atlas.
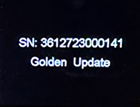
• Push and hold the Rotary knob and while holding it – turn on the Atlas from the power switch. The following text should appear on the display:
Step 4: Connect
Connect the Atlas to your Mac or PC with the USB cable provided inside the box. The speaker will be automatically recognized by the Antelope Launcher, and you can safely proceed to the next step.
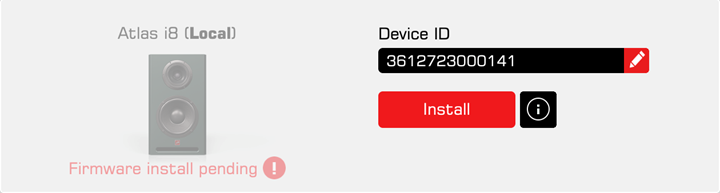
Step 5: Install Update
After you open the Antelope Launcher, click on Install and update the available Bundle version:

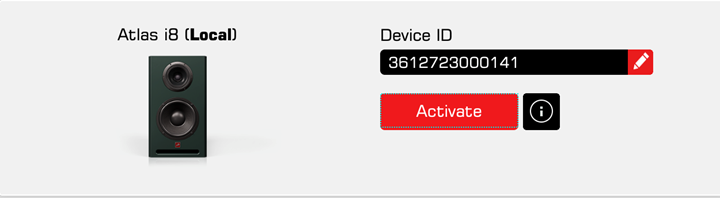
Step 6: Activate Device
After the update, click on Activate and proceed with the on-screen instructions. The Atlas will restart after successful activation.
Make sure you do Steps 3, 4 and 5 for each of your Atlas speakers.
The Atlas is ready to be used!
Step 7: Activate your product warranty
To activate your product warranty, navigate to the My Warranty tab in My Antelope Account.
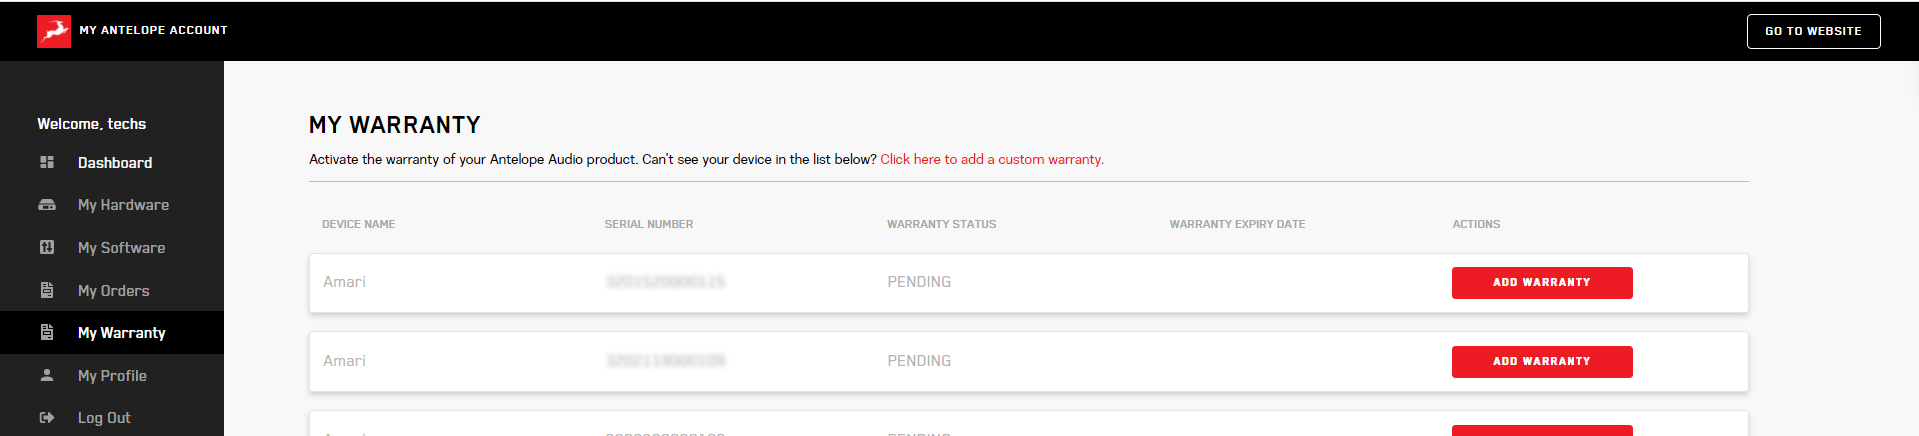
If you have successfully activated your product, it should now appear under My Warranty. Click on Add Warranty.
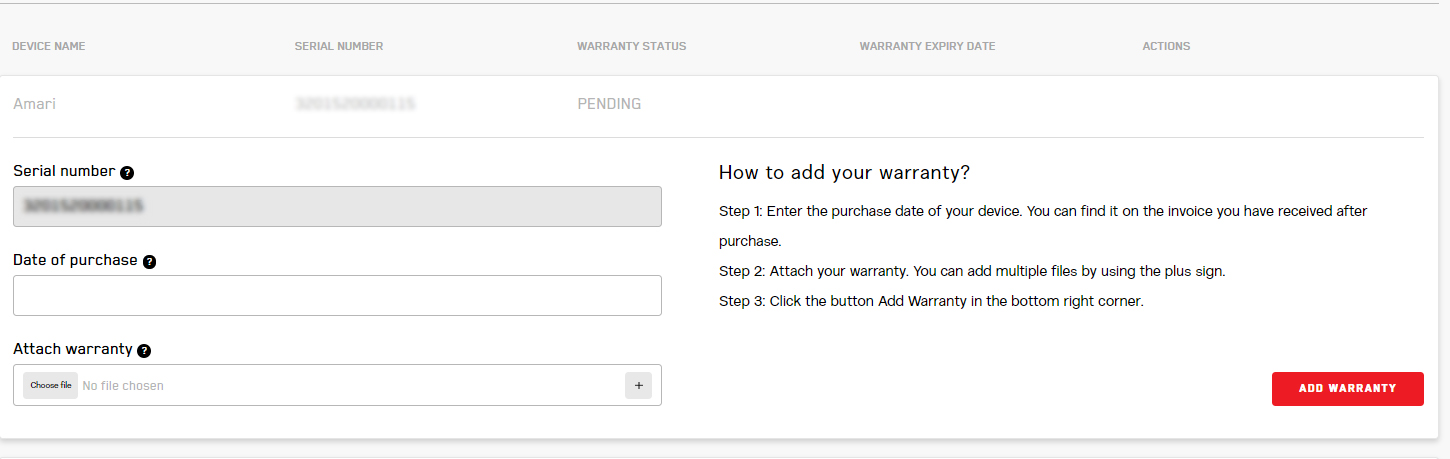
On the following screen you will be asked to enter information about your new device and to attach proof of purchase. You can add multiple files (up to five) by using the plus sign.
Acceptable formats are .pdf, .jpg, .png, .jpeg, .heif, and the size limit is 7 MB per file. Once you have completed the steps click Add Warranty.

After successfully completing the process, you can click on View Warranty to see if your file has been uploaded correctly.
Need any help?
Visit the Antelope Audio Customer Support page, choose your device and find the required information.
このたびは Antelope Audio製品をご購入いただき誠にありがとうございます。
Atlas i8の製品保証を有効にするためには、アクティベーションが必要になります。その際、インターネット接続が必要となりますのでご注意ください。
ステップ1:Antelope Audioのユーザーアカウントを作成
ステップ2: Atlas i8のアクティベーション
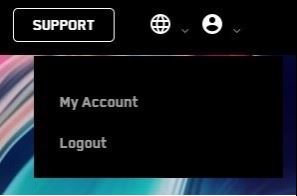
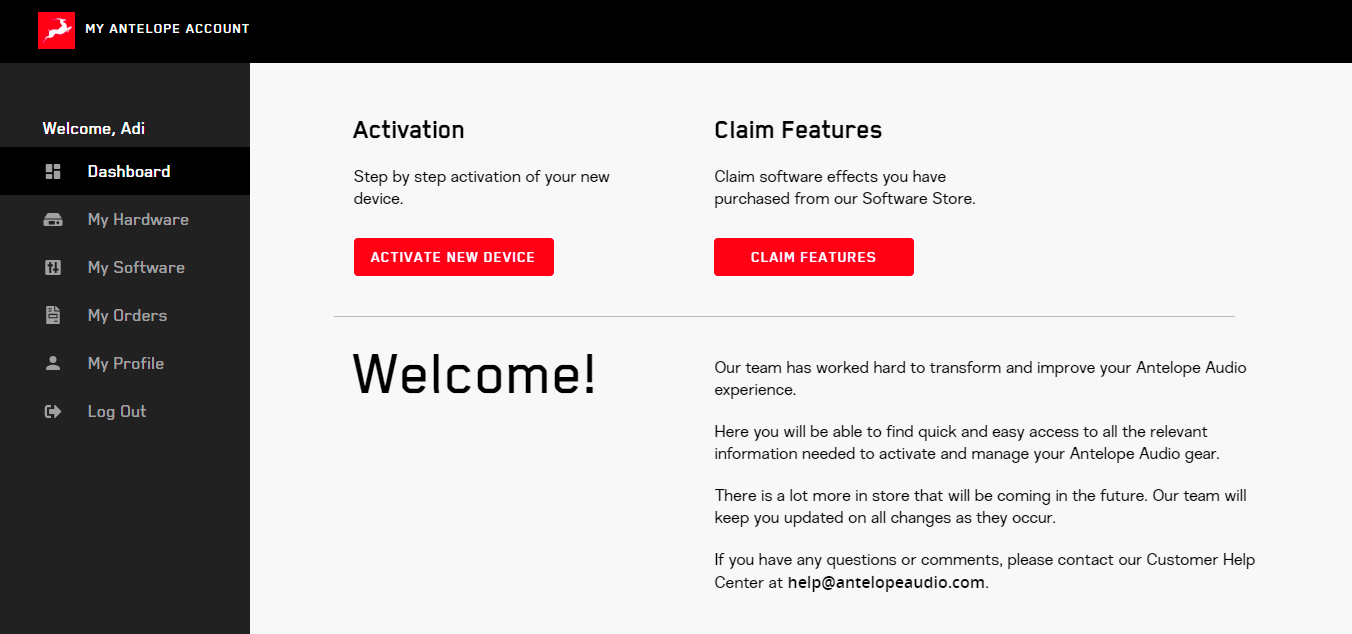
ログイン後、右上のMy Accountをクリックし、User Dashboardにアクセスします。
Dashboardの[Activate New Device]ボタンをクリックします。
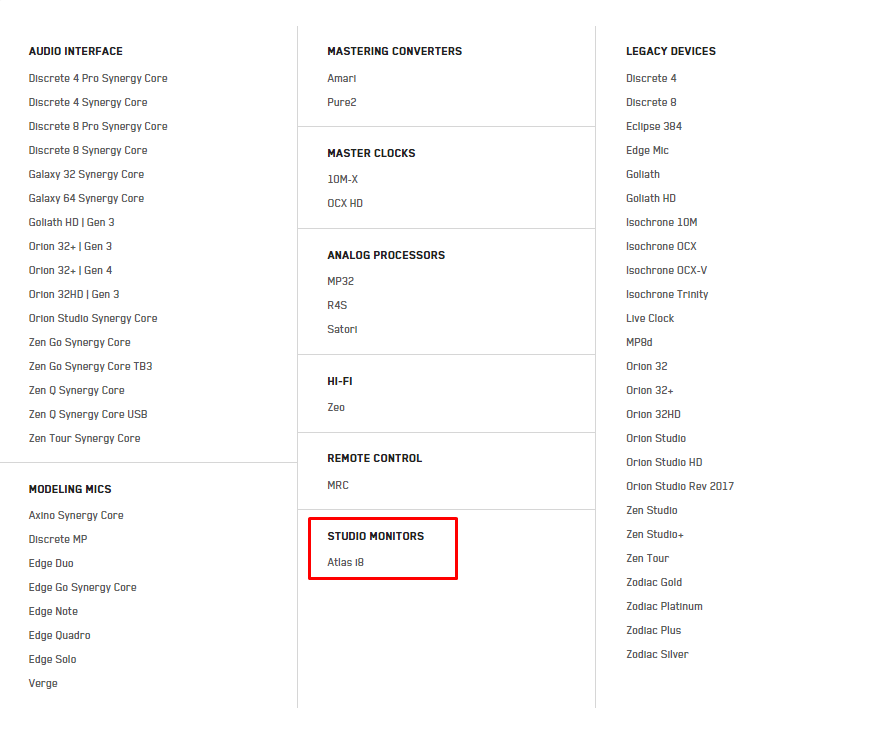
デバイスリストからAtlas i8を選択します。
選択した後、スピーカー本体の背面にある小さなシールに記載されている13桁のシリアル番号を入力してください。
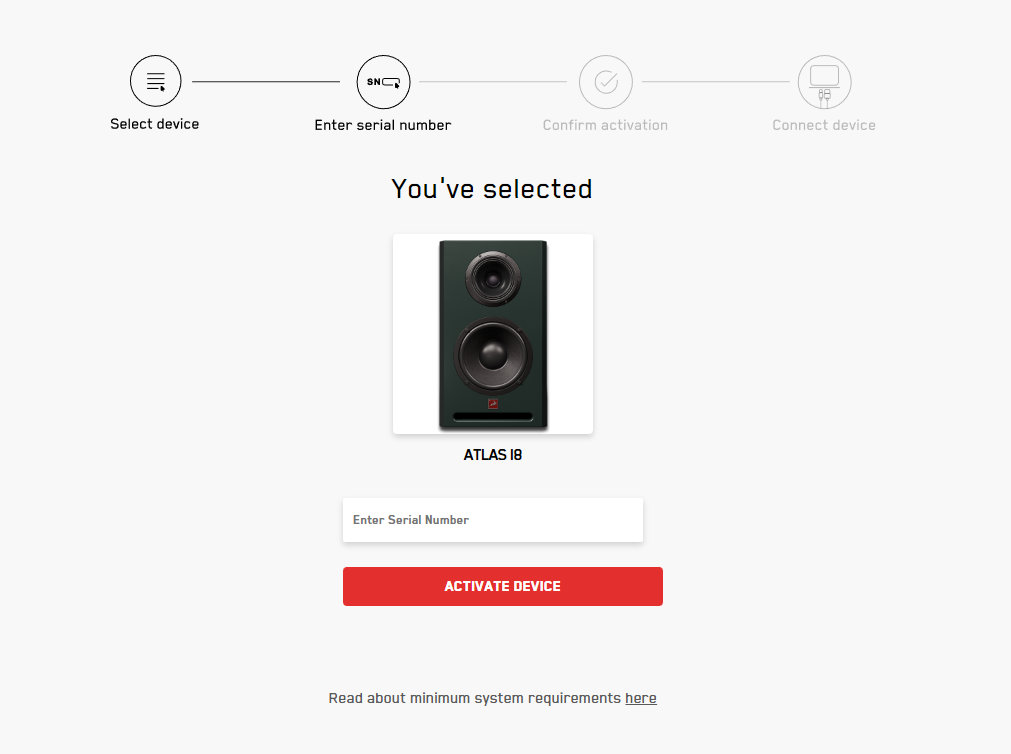
アクティベーションは、お持ちのAtlas i8ごと(例:Stereoであれば2本分)行う必要があります。
ステップ3:製品保証を有効にする
製品保証を有効にするには、My Antelope AccountのMy Warrantyタブに移動します。
登録が無事に済んだ場合、デバイスは “My Warranty” タブにて表示します。保証を有効するためには、”Add Warranty” をクリック下さい。
次の画面では、ご購入製品に関する情報を入力し、購入証明を添付していただきます。プラス記号から複数のファイル(最大5つ)を追加できます。
使用可能な形式は、拡張子が.pdf、.jpg、.png、.jpeg、.heifで、1ファイルあたりのサイズ制限は7MBです。手順が完了したら、[Add Warranty]をクリックします。
手続きが正常に完了したら、[View Warranty]をクリックしてファイルが正しくアップロードされたかどうかを確認できます。
これで新しいスピーカーを使用することができます。
お困りごとはございませんか?
Antelope Audioのカスタマーサポートページにアクセスし、お使いのデバイスを選択して製品に関連する情報をご確認ください。