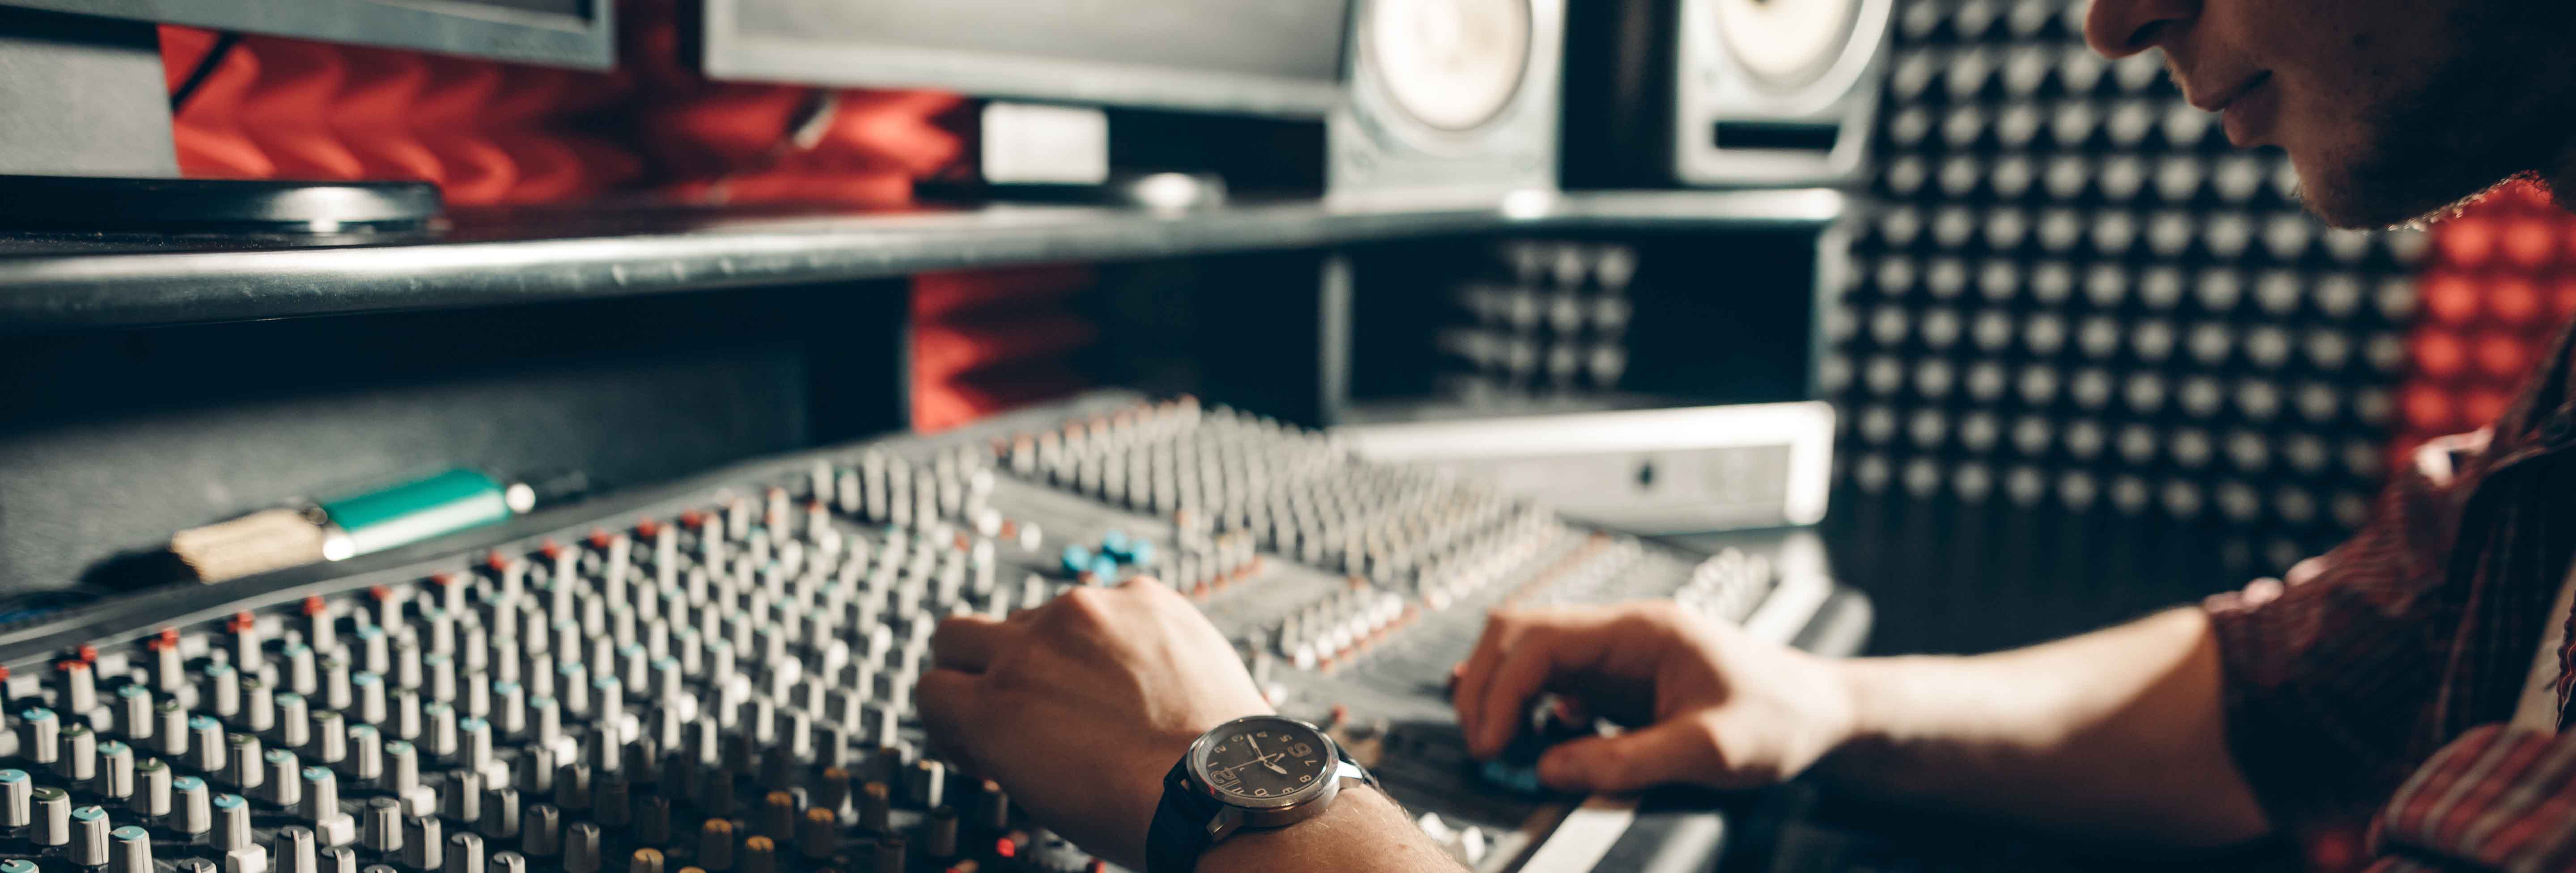
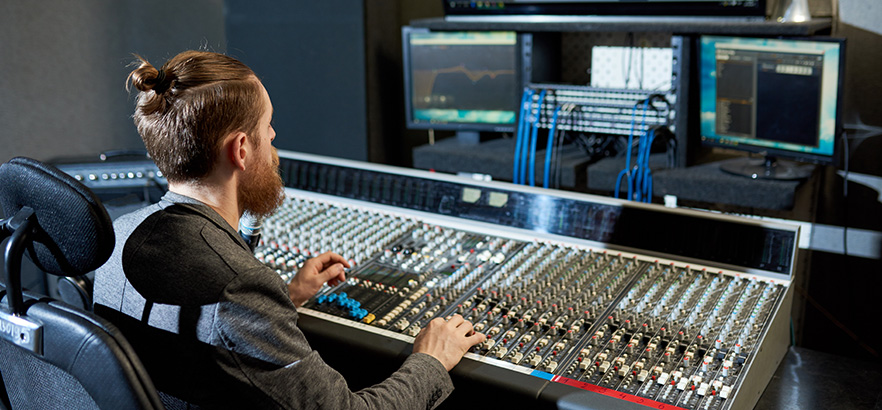
One of the things engineers constantly do in the studio is metering. In fact, it might feel like that’s all they do: metering the microphone’s input signal, the recording level in the computer, the headphone level for the talent… It does not sound as exciting or fun as choosing microphones or tweaking compressors but it is vital for the correct gain staging of the recording. But what is gain staging exactly and why is it so important for any audio production? Before answering these questions, let’s go back to the basics.
What is gain?
In the field of audio we define gain as the measure of how much an amplifier increases the amplitude/volume of a signal. When we talk about a preamp, the more gain we apply, the more signal we get from the microphone. But the different amplifiers throughout the signal path will provide checkpoints to control the volume of the audio and keep a healthy signal. That’s what gain staging is all about.
Gain staging: definition
We call gain staging the process of setting the optimal level for an audio signal. One that keeps the audio source as loud as possible without distorting, while keeping the floor noise quiet.
Back in the day of analog recording, professional gear manufacturers and engineers came up with a standard for this optimal level and created a system to help engineers to capture the best audio possible. This standard was measured to be 1.227volts AC for any electric audio signal, also known as +4dBu. Anything below this value would mean that the sound signal might be too quiet and anything above it would start distorting. But it wasn’t practical to measure the voltage across cables during recording. That’s why this standard was translated into a new measuring unit called Volume Units (VU).
Gain staging in analog vs. digital
VU metres were designed to provide a reading of the perceived loudness of the audio signal, and due to their mechanical nature they were never able to reflect the signal peaks. The peak value is inferred between 6dB and 10 dB higher than the levels shown by the metre. For example when setting up levels for drums, if the needle hits -3 VU we would know that the peak level is in reality between +3 VU and +7 VU and therefore reaching the distortion point.
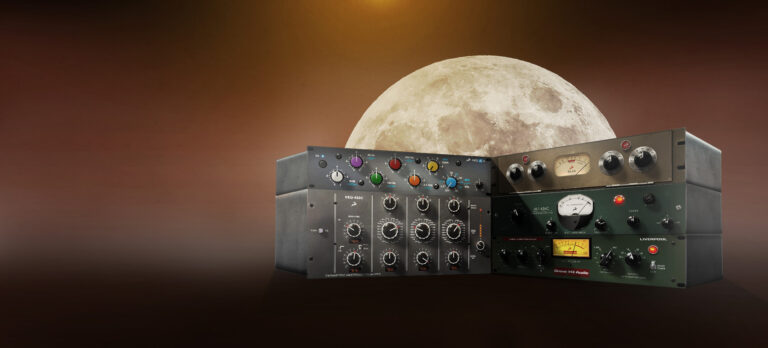
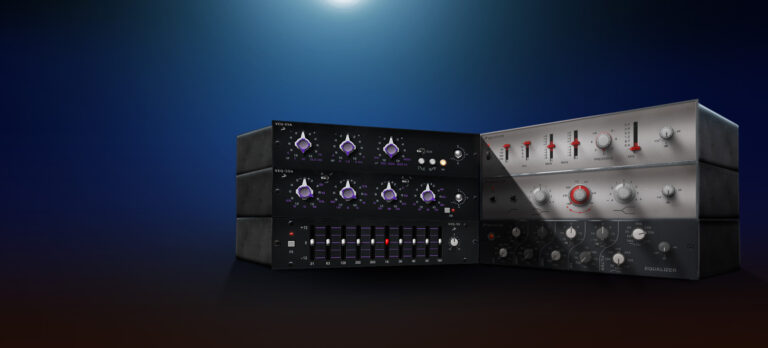
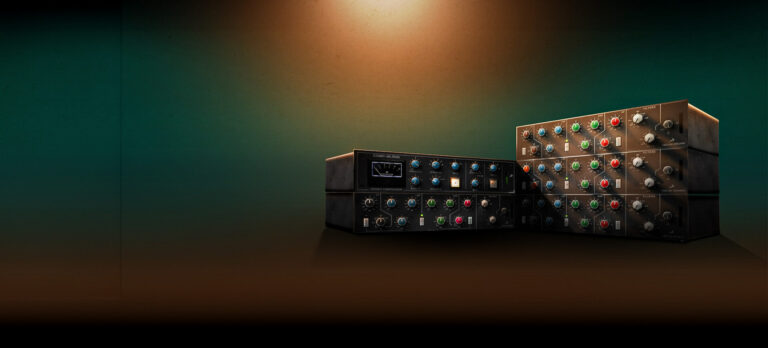
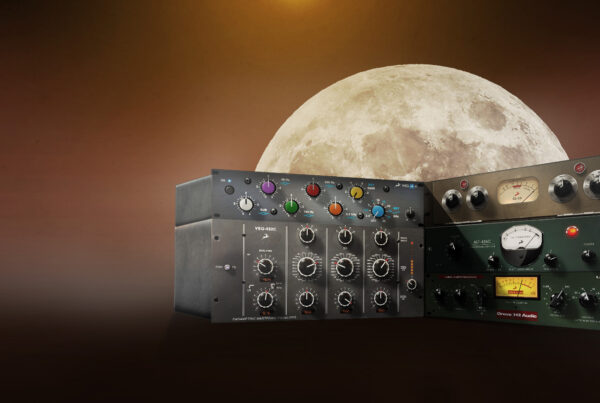
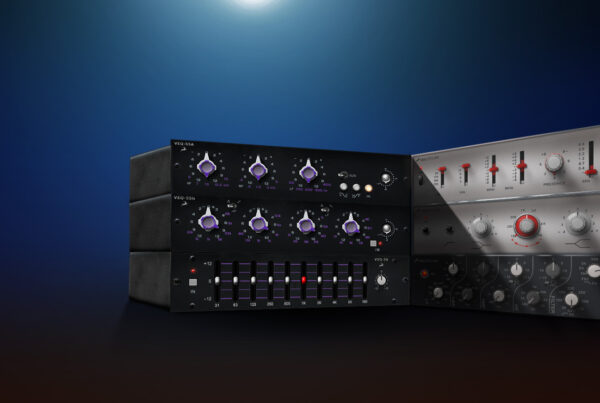
Most analog devices like consoles, preamps or tape machines have an integrated VU metre to measure the input signal coming through the gear and help setting up their gain. The aim is making the needle of the metre sit around 0 VU when setting up the input gain for any given audio. By following this process engineers made sure that the signal was healthy throughout the whole recording chain. Still, some producers and engineers take advantage of the natural saturation and musical distortion of analog equipment and push the levels of these devices above the peaking point of the metres, getting more texture and grit out of the recordings.
When digital recording came around things changed slightly. The analog audio signal is now transformed into a stream of zeros and ones thanks to audio interfaces and then captured by the computer. Now the digital signal is defined by two components: the sample rate and the bit depth. While the sample rate takes care of the frequency of the audio being captured, the bit depth defines the amplitude of the signal. The higher the bit depth the more accurate the level of a signal can be measured. Just like the ticks of a ruler. When the signal falls in between one of those ticks the computer assigns that point to either the one above or the one below. Common bit depth values are 16 bit, for CD quality audio or 24 bit for audio recording or video productions. To obtain the dynamic range of an audio file you have to raise 2 to the power of the bit depth. For example, a 24 bit audio file will have 16,777,216 possible amplitude values.
These digital values are measured in deciBels Full Scale (dBFS) which goes from from negative values to its maximum at 0 dBFS. Compared to VUs dBFS, metres do show peak values very accurately, but unlike on analog equipment, when the signal goes beyond 0 dBFS the computer chops the waveform, clipping the signal and causing unpleasant digital distortion.
Gain staging with modern floating-point digital processing
Although we talked about the standard recording bit depths there is one more type that should be mentioned: 32 bit Floating-Point.
The term floating-point refers to the fact that the decimal part of a number can “float”, allowing the use of a fixed number of digits to represent numbers of different orders of magnitude. In digital audio this means that the dynamic range can be adjusted to whatever value the waveform reaches without digital clipping.
Some interfaces and field recorders can record audio at 32 bit Float-point which is beneficial when the conditions are difficult to control and therefore arduous to gain stage properly.
Also, most DAWs use 32 bit floating-point for the internal processing. That’s why during mixing, even when we overdrive any plugin or go above 0 dBFS in our channels we don’t get any digital distortion. It is only when we bounce our project when any sample above the limit will cause clipping.
Avoid clipping
Based on all of this, it’s natural to think that the best way to gain stage when recording in digital is to use the maximum bit depth possible without reaching the digital clipping. This way we would use all the available dynamic range provided by the digital media. But in practice following this procedure will only cause trouble down the line. The reason being that when you start mixing signals, the headroom gets reduced. If every track has very little headroom your master bus will clip very quickly. Bringing down the faders of your tracks will avoid this, but on the other hand you will lose fine control over their volume making them more difficult to mix. So what is the best way to approach gain staging nowadays?
How to gain stage your mix
Audio interfaces and digital equipment still use the professional standard of 0 VU to calibrate their equipment. A signal of 0 VU sent into your interface will read around -18 dBFS in your digital metre.
It is normally recommended to record signals with a peak level value of -6 dBFS. This means that the loudest section of your waveform should not go above this value. If you do so you might start noticing that the average of your recording stays around a specific digital value in your DAW. You guessed it: -18dBFS.
As you can see the legacy of analog recording lives on in the modern digital era. Understanding how to properly read your metres and set the gain appropriately benefits the whole production. By aiming to keep the average of each individual signal around the magic number will help you balance your mix quicker since the faders will be moving in the area where they have more resolution.
On top of that, most software developers also use this standard to calibrate their plug-ins and effects. Especially if they are analog models. That’s why it is also important to properly set the gain in between the processing chain. This will provide a better performance of your effects since they will be receiving the expected level for optimal results.
We hope we shed some light on the ever-trending topic of gain staging and show you why it is so important for any production. We are sure that you won’t look at your metres the same way from now on. Happy recordings.