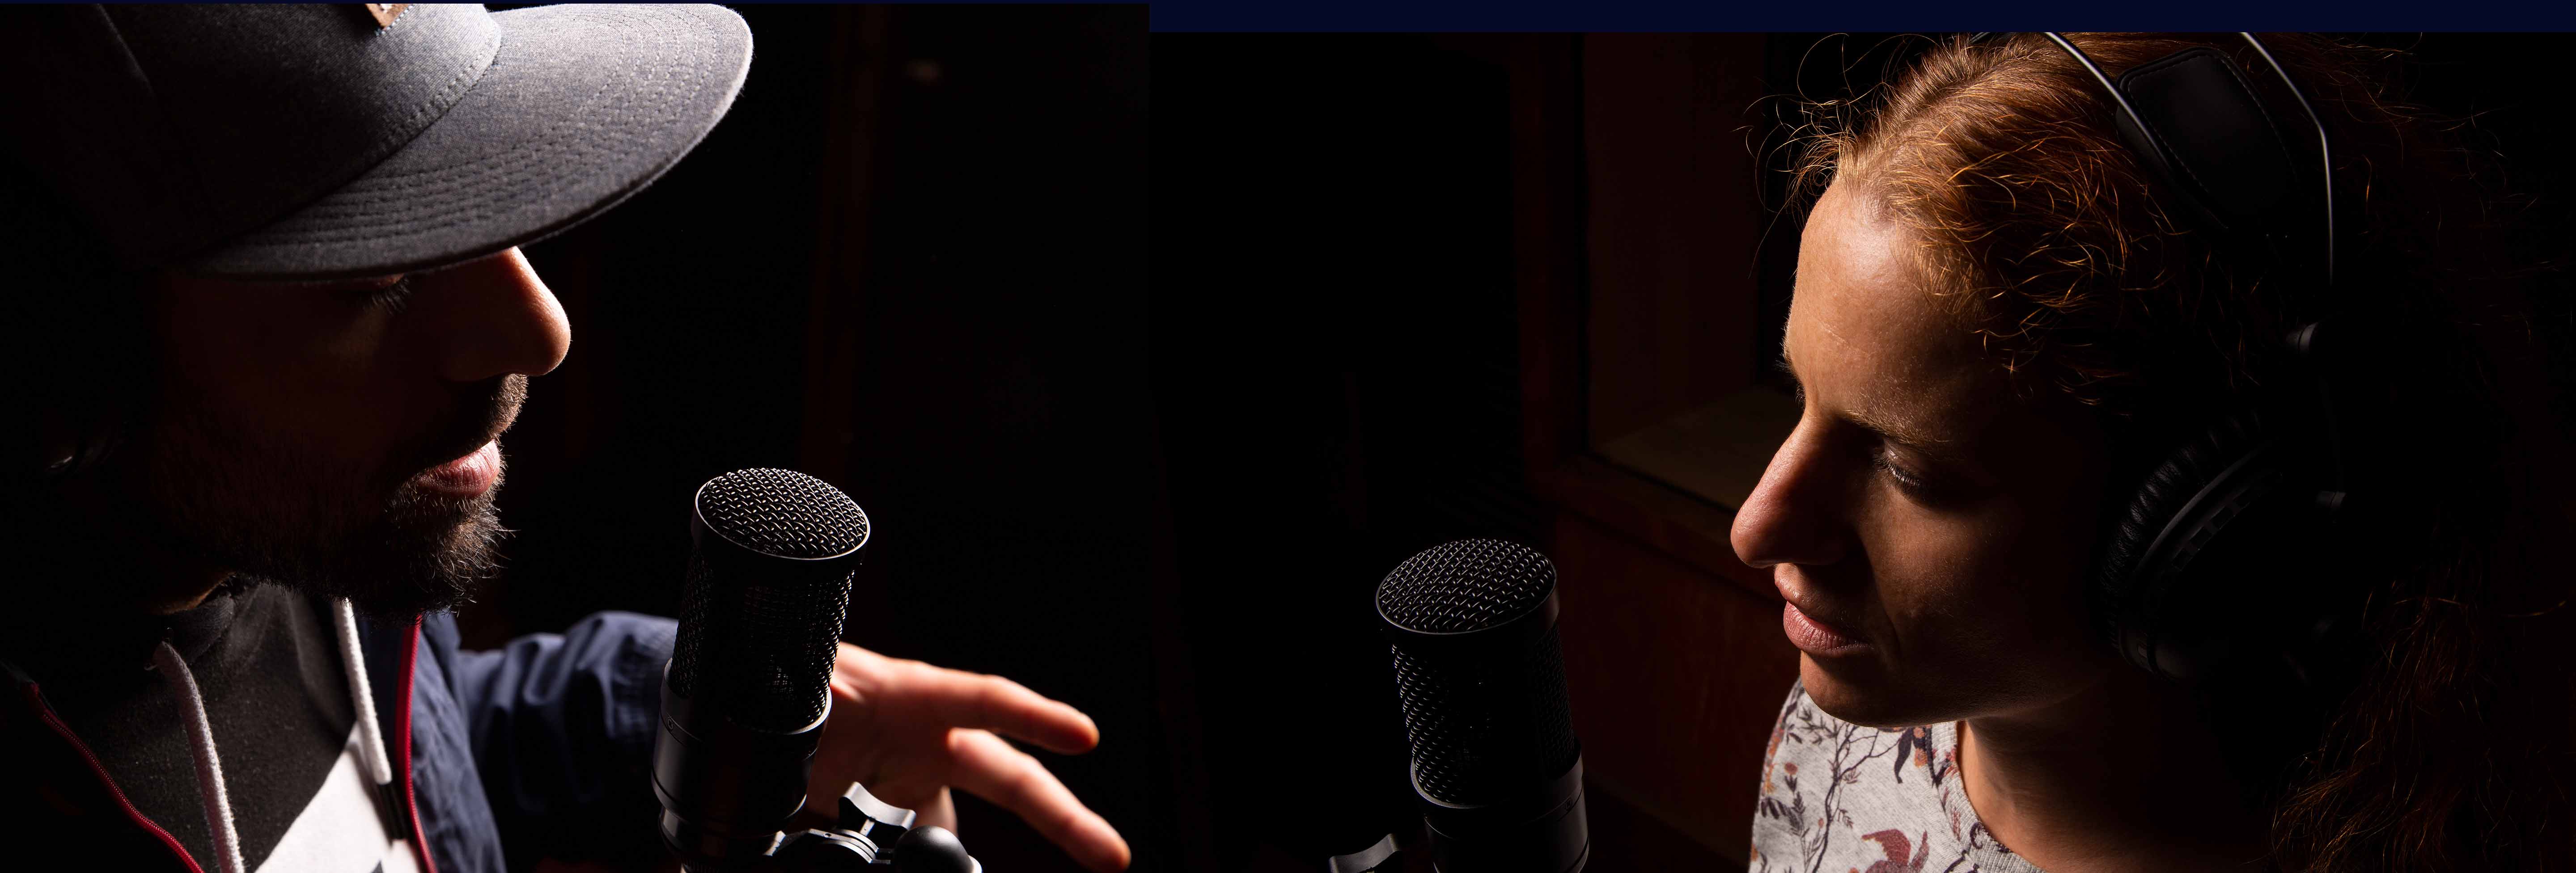
The final goal on every recording is to capture the best performance out of the talent. That magical take capable of communicating the energy and emotion happening in the studio. We always talk about the importance of microphones, preamps or compressors to get the best sound. But we often take for granted a very simple detail that can completely change the feel of the performance. We are talking about cue-mixes.
A cue is simply defined as a signal sent to a performer to begin a specific action. In the context of a recording, cues are normally known as the way for the musicians to hear what it’s being recorded. When we talk about cue-mix we refer to the balance of audio signals that the artist can hear on their headphones or monitoring system during the performance. But, why can cue-mixes have such an impact on the feel of a recording?
Having some kind of feedback from the recording system is reassuring. It gives confirmation that the audio from the microphone or instrument is reaching the computer and it is being recorded. It is especially useful if you are using virtual instruments since all the audio is happening inside the computer.
In our previous article on How to use an audio interface we gave an introduction on how to set up your DAW and monitor yourself while tracking. This is a straightforward process but as the recording progresses some problems may arise and make the sessions more difficult to handle. Let’s go through some ways to set up your cue-mixes and avoid any lag in your creative process.
How many cues do you need?
If you are recording solo and working with virtual instruments you probably would only need one cue-mix. Balancing your tracks and using your DAW input monitoring when recording might be enough for your needs. But if you start collaborating with other musicians or recording more than one source at a time, being able to create separate cue-mixes quickly can be crucial for the smooth operation and flow of the session.
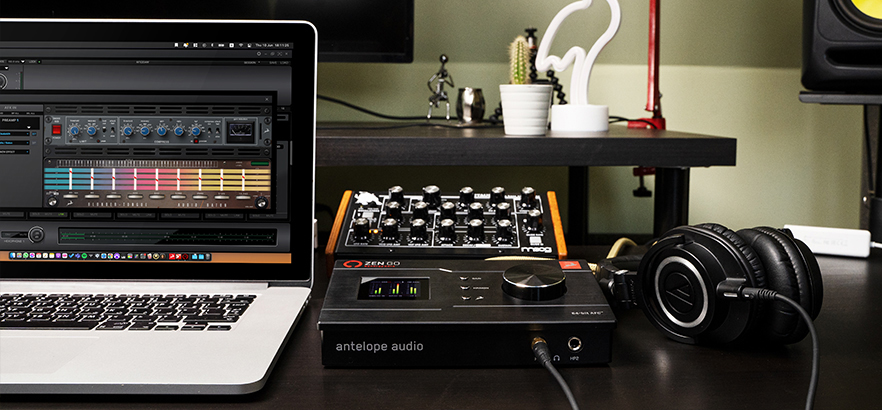
Our Zen Go Synergy Core audio interfaces, for example, offers two dedicated headphone outs which together with our Control Panel software open the possibility to create two independent cue-mixes easily and effortlessly.
By sending each track or group of tracks from your DAW to different Antelope Audio Computer outputs, you can control their levels in the headphones monitoring section and create custom cue-mixes.
Make it sound like a record
On many occasions a specific sound can trigger a whole creative process. Things like guitars roaring through an amp or shimmering vocals drowned in reverb have been the inceptions of songs for ages. That’s why getting a great sounding cue-mix can be very powerful and inspiring.
Something as simple as setting up a reverb track and sending elements to it can give the feeling of space and create a vibe during the recording. Our Control Panel software provides the possibility to send signals to the built-in AuraVerb reverb processor. You can also control its volume to the different monitoring outputs creating more engaging cues without worrying of getting the reverb recorded in your take.
The problem with latency
One of the first issues we encounter when recording with our computer is latency. As we explained before, latency is the total time taken for a signal to travel through the audio interface to the computer and back to your monitoring system. It can be adjusted by increasing or decreasing the buffer size in your DAW. Higher values are recommended during mixing allowing the use of more plug-ins and processing, while lower buffer size values are suitable for recording. The downside of this is the limited amount of plug-ins and processing that your computer would be able to handle.
If you are recording just one microphone with some reverb effect on your session your computer might do just fine working at low buffer size. The problem would come when your production grows and you would like to continue recording . The number of tracks would have increased and you would probably have added more plug-ins to the processing chains. All of a sudden an overload message from your DAW will appear on your screen asking you to increase the buffer size and therefore the latency of your monitoring system. Thankfully we have a solution for that.
The Control Panel software allows you to monitor your microphone, instruments or line input signals completely independent from your DAW buffer size value. You only need to enable low-latency monitoring in your DAW and bring up the level of your input channel on the Control Panel. You can even add our Sinergy Core effects into your input processing chain and record and monitor through real-time emulations of classic analog gear with near-to-zero latency. This is especially helpful for guitarists and bass players since they can track with their favourite pedals, amps and cabinets anywhere they go.
Take a look at how to set up a simple cue mix to record, track and monitor under different scenarios using the Zen Go Synergy Core and our Control Panel software in this video.
As you can see our interfaces and Control Panel software opens endless possibilities to set up quick and engaging cue-mixes for your sessions. Nothing better to create the right environment to capture the perfect take.


