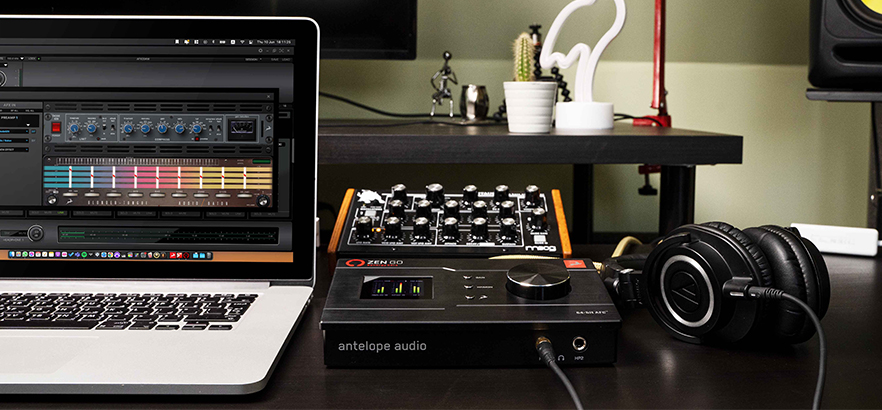
Getting started with your first audio interface can be intimidating and overwhelming at first. There are a lot of technicalities that can make it difficult to start recording right away and it can even take you out of your creative mindset. How do I get my microphone working? Where do I connect my speakers? How do I configure it to work correctly with my DAW? These are some of the questions that we all have encountered when setting up our home studio. Taking the Zen Go Synergy Core as an example, we will help you set up your audio interface correctly and give you all the information you need to get started in no time.
Getting started
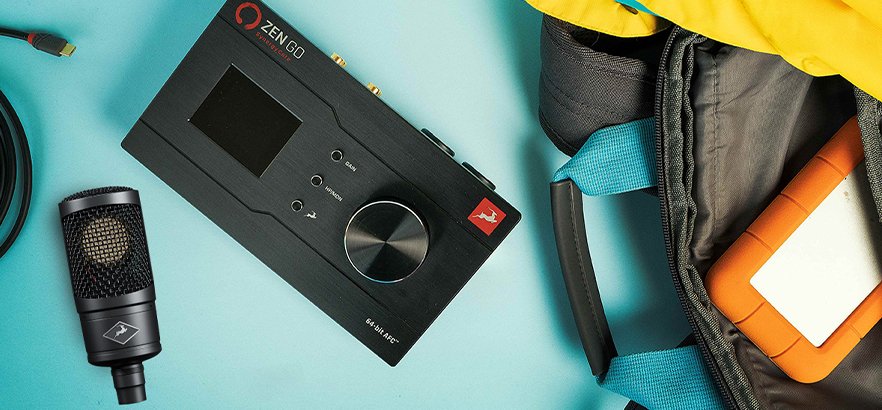
The first thing we need to do is get our audio interface connected to our computer. As we saw in our previous article, your audio interface will be communicating with your computer and transmitting audio data via one type of protocol. It is important to make sure that you use the right connection to ensure the correct performance of your device. Especially nowadays where USB-C and Thunderbolt 3 connectors share the same shape but not the same functionality. Just check your interface and make sure the cable you use is compatible with the corresponding communication protocol. In the case of the Zen Go, the interface is a USB-C bus-powered device that can run through a single cable connected to a USB-А or USB-C port with a USB2.0, USB3.0 or USB3.1 protocol in your computer. Thunderbolt 3 ports on Mac computers are compatible with USB devices and the Zen Go can be connected with a USB-C cable to a Thunderbolt 3 port too.
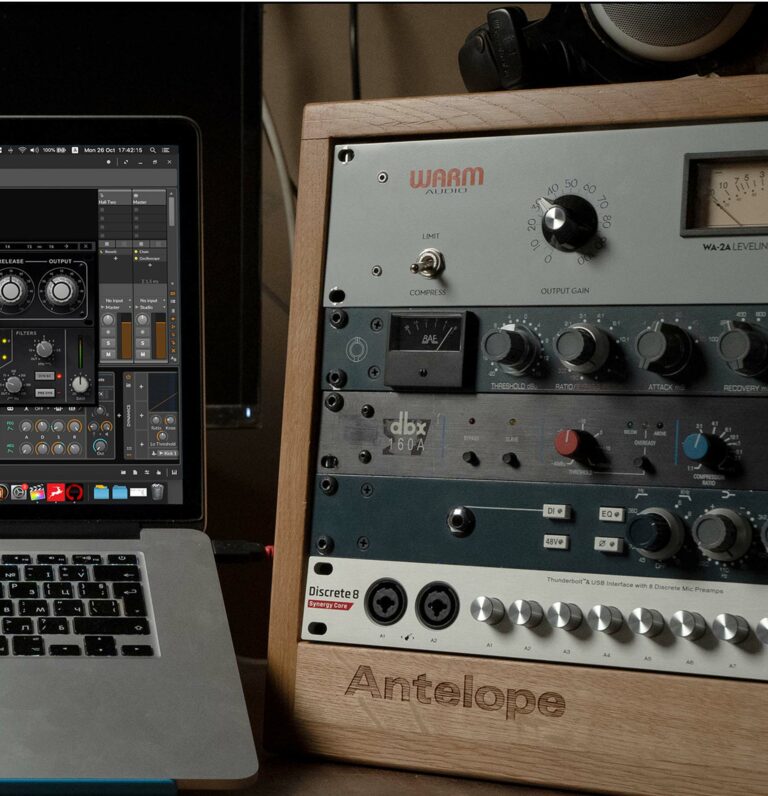
Most modern audio interfaces are class-compliant which means that they don’t need any extra drivers installed to work. But normally manufacturers provide additional software to help with the interface’s configuration and keep their firmware up to date. For Antelope Audio devices, the Antelope Launcher allows managing and troubleshooting all successfully activated Antelope Audio products in an easy and intuitive way. On top of that we also provide the Control Panel application which makes it super easy and quick to access all the interface’s functionalities directly from your computer without the need to touch your interface.
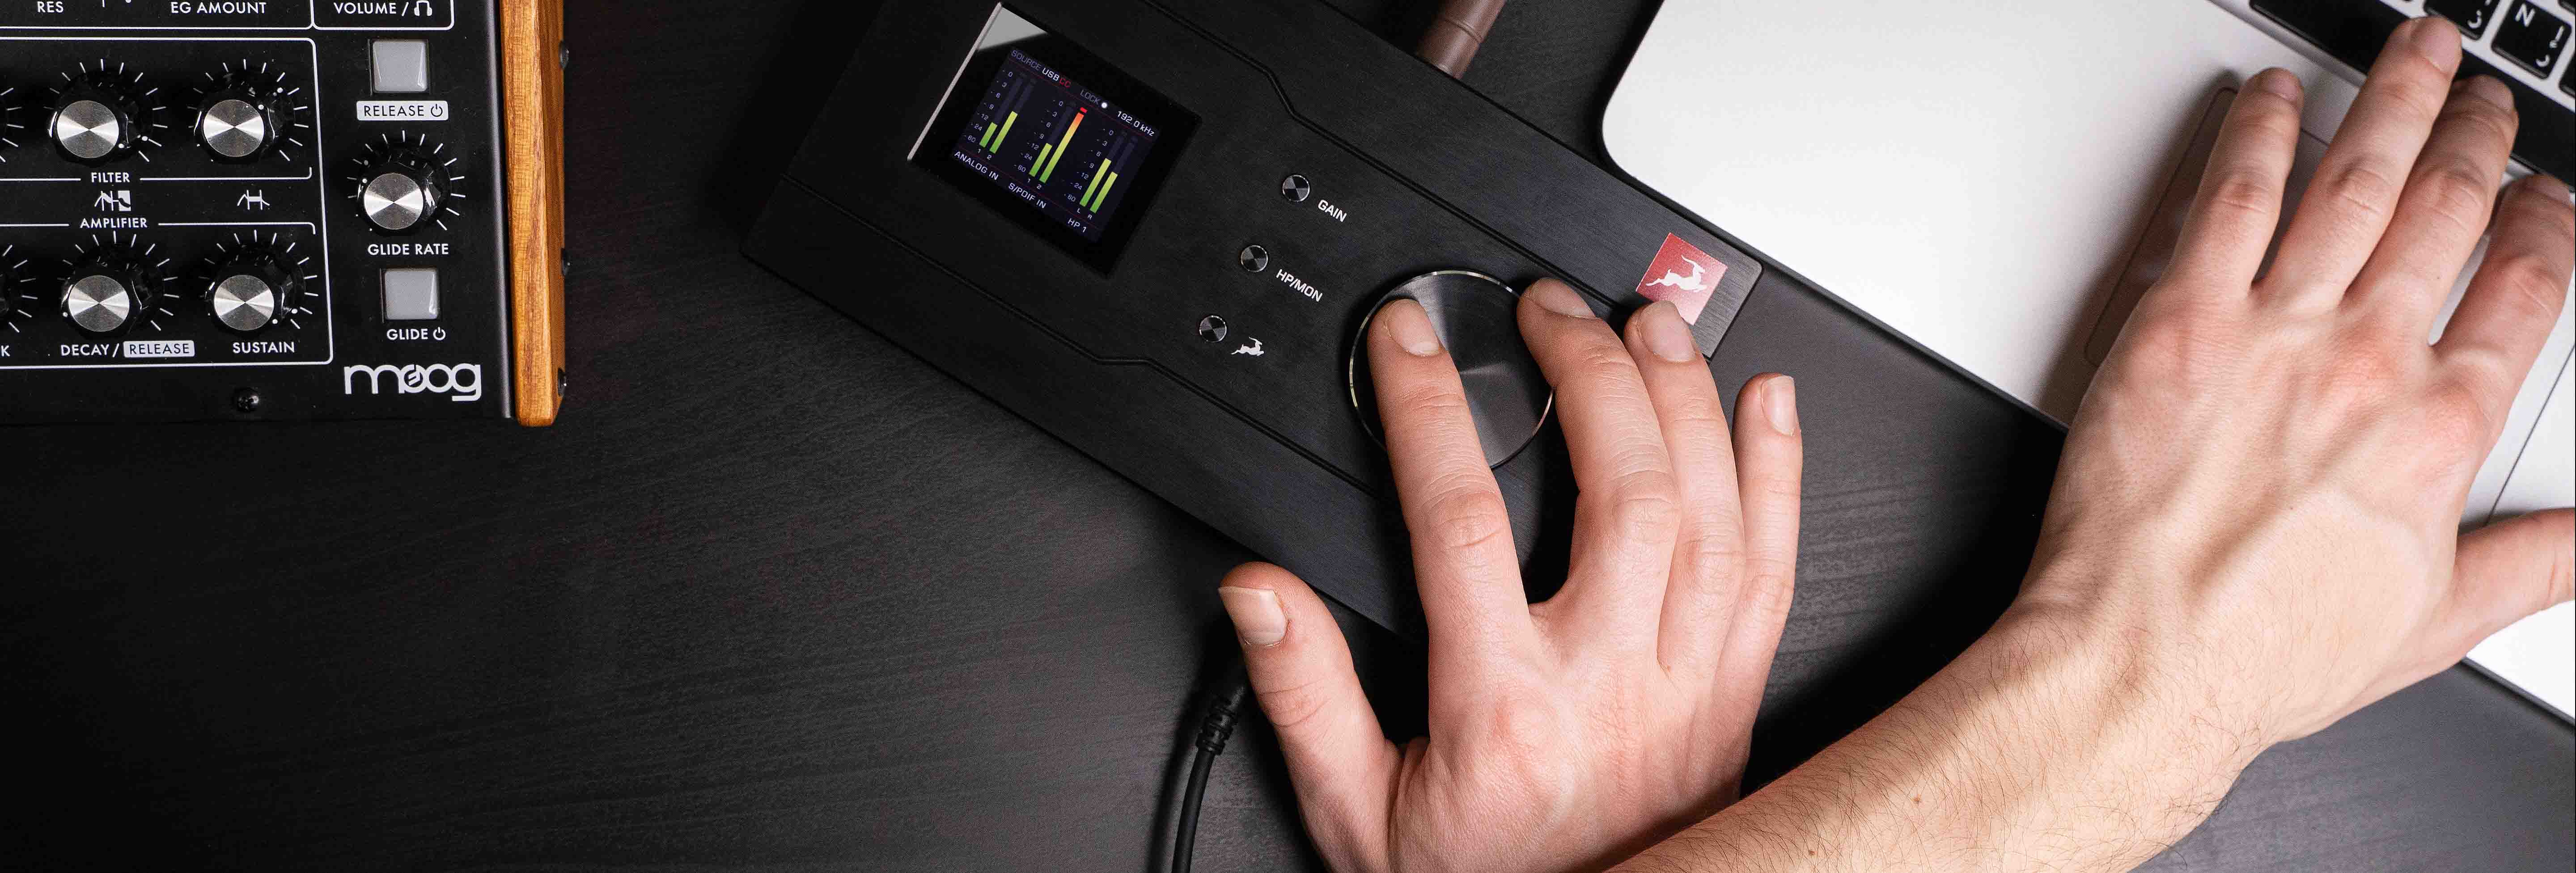
Now that the interface is up and running you need to change the audio settings in your computer to make sure that the audio coming in and out is managed by your newly configured device. This can be done in your audio configuration or sound preferences panel of your operating system. In Windows 10, it should be located in the following path: Start Menu, Windows System Tools, Control Panel and Sound. On Mac, just navigate to System Preferences and click on Sound. Then select the audio interface from the list and your device will start managing all the sound coming in and out from your computer. A good way to confirm this is to look at the monitor meter panel in your interface while playing music from your computer.
Once everything is installed and updated your device is ready to start recording. But before that we need to connect your peripherals.
Monitoring
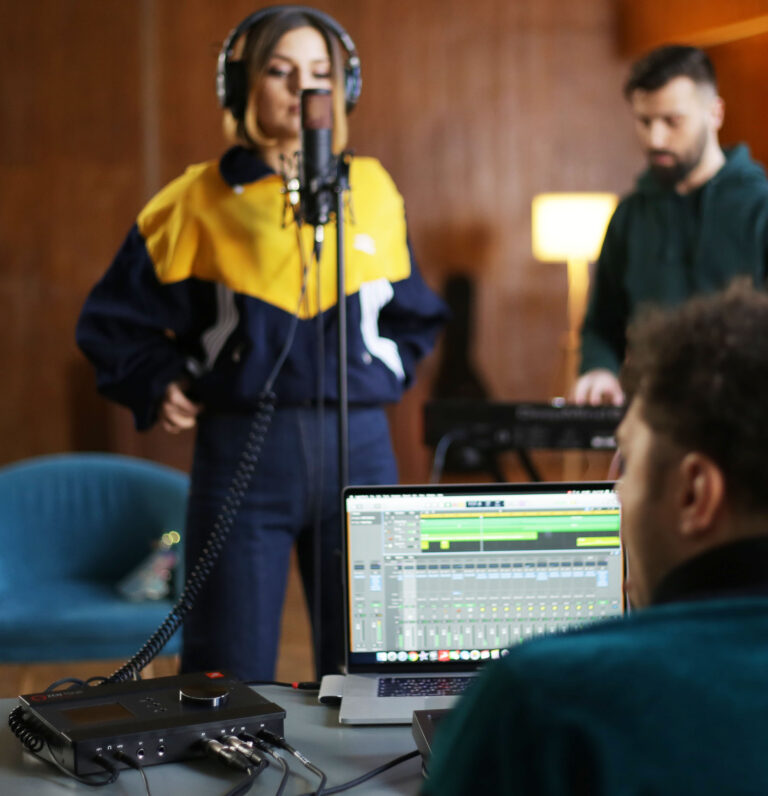
Probably the first thing you want to do when configuring your interface is making sure you get audio out of the device. This is commonly known as monitoring. You can do it using speakers or headphones.
Headphones are the easiest way to listen to the output of your audio interface. Many units provide at least one headphone amp in the form of a quarter inch TRS/Jack (balanced) connector and normally they have a dedicated volume control to adjust the listening level. Just get your favourite pair of headphones with a quarter inch adapter, plug them in and adjust the volume. You can find two headphone outputs in the front panel of the Zen Go (HP1 and HP2) which allows you to collaborate and play with others at the same time.
If you also have a pair of monitors or an amplifier with speakers you can connect them to your interface via the Monitor Left and Right outputs (they might be named output 1 and 2 as well). It’s quite common that the connection will be done via two quarter inch TRS cables although some interfaces might use other connectors. Many people with no studio monitors start by connecting the interface’s output to an Aux Input in their Hi-Fi system. If this is the case you would probably need a special cable that combines two different kinds of connectors. In the case of the Zen Go the monitor output comes in the shape of quarter inch and RCA sockets which allows versatility when setting it up.
Connecting your microphone
A microphone is probably one of your main recording sources. We would need an XLR cable to plug a microphone to your audio interface via its Mic input. The Zen Go comes with two dual-purpose ‘combo’ sockets that combine both XLR for microphones and quarter-inch jack for a line or instrument inputs. Just plug the microphone to either A1 or A2 input on the back of your Zen Go.
Depending on whether your microphone is either condenser or dynamic you might need to send phantom power in order for it to work. Phantom Power is a feature found in consoles, preamps and audio interfaces that sends 48 Volts DC to your condenser microphones. This electric power travels through your XLR cable and powers the circuitry built inside this type of microphones. Phantom power can normally be engaged on each mic preamp with a switch labelled as +48V or Phantom. In the case of the Zen Go there are two ways to turn the phantom power on for each of the two preamps. You can either enable it via button combination (press the Gain button then hold the VOLUME knob for several seconds until the 48V sign shows on the display) or you can do it directly from the Control Panel application in your computer.
Remember to plug your microphone to the interface before turning the phantom on and make sure you only send phantom power to condenser microphones. Also switch the phantom off before packing everything up. It is not only good practice but also, it can be harmful for yourself and for your equipment if left on.
Configure Your DAW
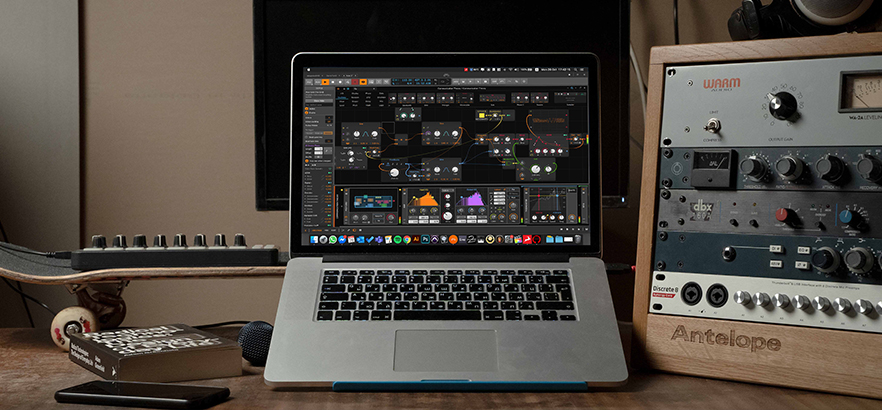
Now that everything is connected, let’s configure the recording software or DAW to start recording by using your audio interface. Every recording software will have an Audio Configuration or Playback menu. Navigate to it and check if your interface shows up in the input and output sources list.
Create an audio channel in a new session and choose the microphone or instrument input (it might be shown as Mic/Hi-Z) as its source and your monitors as the track’s output. If you don’t hear or see anything happening, fear not. To get the signal and be able to adjust the recording levels we need to arm the track or engage its input monitoring. These are represented as buttons in your track with the letters R and I. Then slowly increase the gain of your preamp and you should start seeing signal coming into your DAW metres. As a rule of thumb a healthy recording level should have a peak point around -6dBFS in your metres, so make sure you don’t push the gain too far.
If you find yourself hearing an uncomfortable delay you are probably getting latency in your DAW. Latency is the total time taken for a signal to travel through the audio interface and the computer. From the input to the monitor system. This latency can be controlled by the buffer size of your software. If the buffer size is too high, the signal takes longer to do the roundtrip and therefore you hear a delayed signal. By reducing the buffer size the latency is reduced allowing to monitor with no delay. You can do this in the Audio and Playback preferences in your DAW. Use values between 64 or 128 for recording. Then increase it during mixing to take advantage of all the computer’s processing power.
As an alternative, some interfaces like the Zen Go, provide the possibility to monitor with no latency and independently from the DAW buffer size. Just use the Control Panel application to control and monitor your inputs.
Let’s Record!
By this point you would be able to hear yourself through your monitoring system and be ready to record. Just a quick note. Be careful when recording with a microphone and monitoring through speakers. Since the audio coming from your monitors will go into your mic, it can easily produce a feedback loop, which can be dangerous for your equipment and most importantly for your ears. When recording with a microphone try muting your speakers and use headphones instead.
Finally just press record and let your inspiration guide you. You have taken your first step into a larger world.
We hope this guide helps you to get started with your audio Interface. Remember that User Manuals can be also super helpful to get the most of each specific audio interface, so don’t hesitate to check them out when any question arises. Happy recording!